
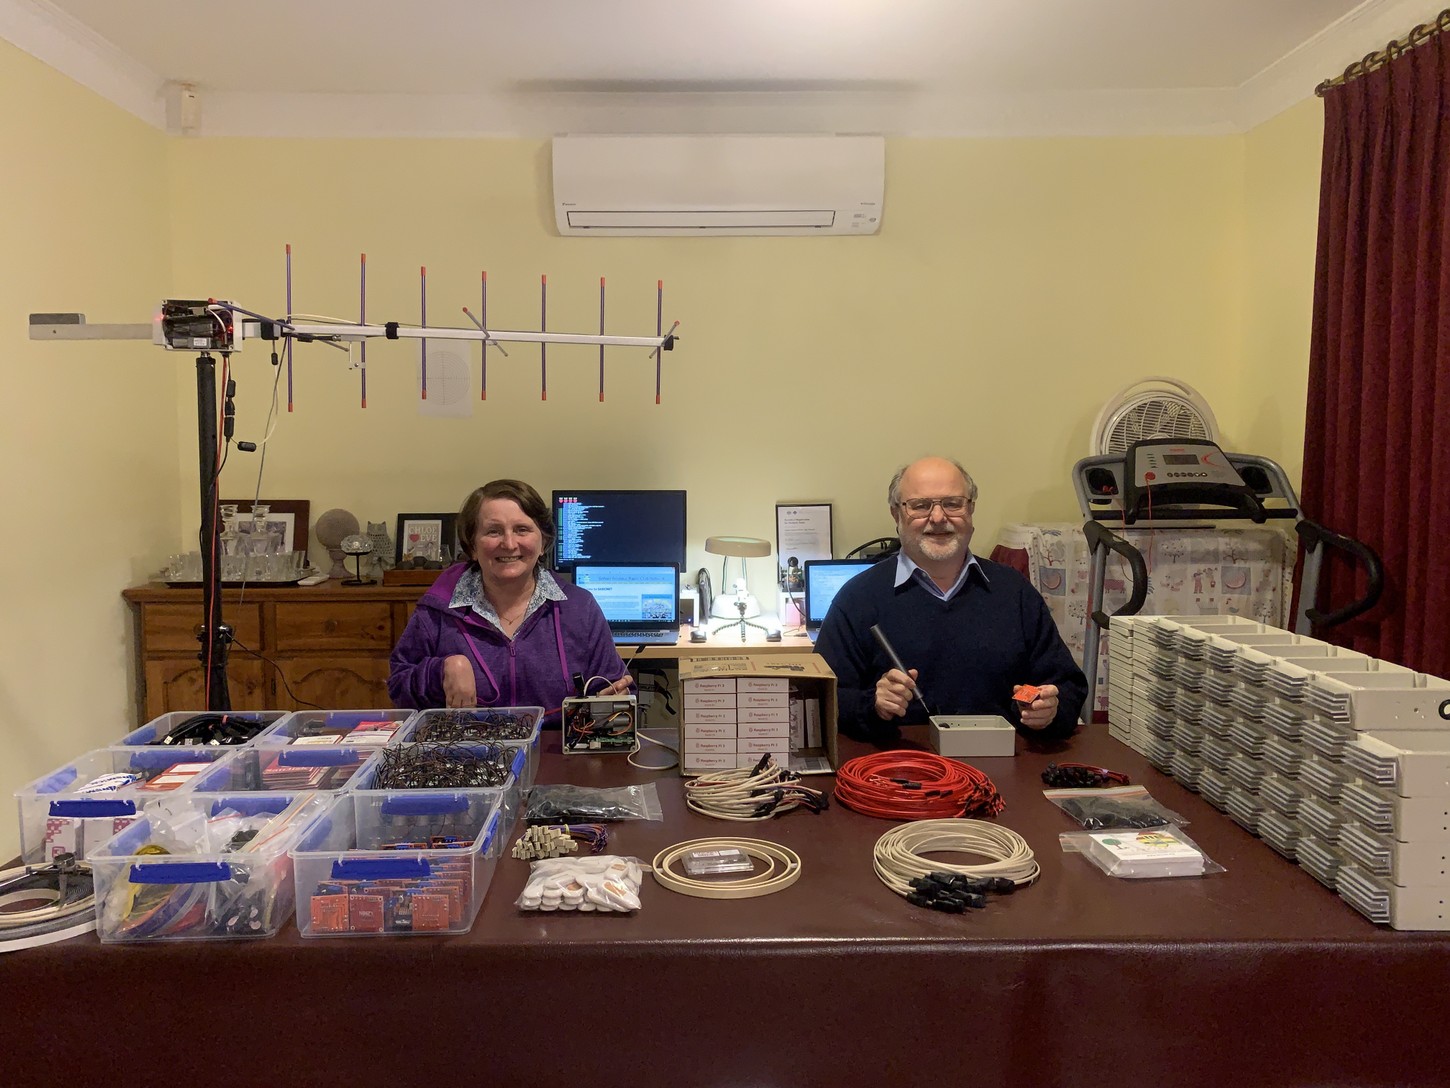
SARCTRAC Production
Here are some pictures of our home production process for SARCTRAC. In parentheses shows applicability to SARCTRAC Mk1, Mk2 or Mk3.
SARCTAC Mk2 Assembly
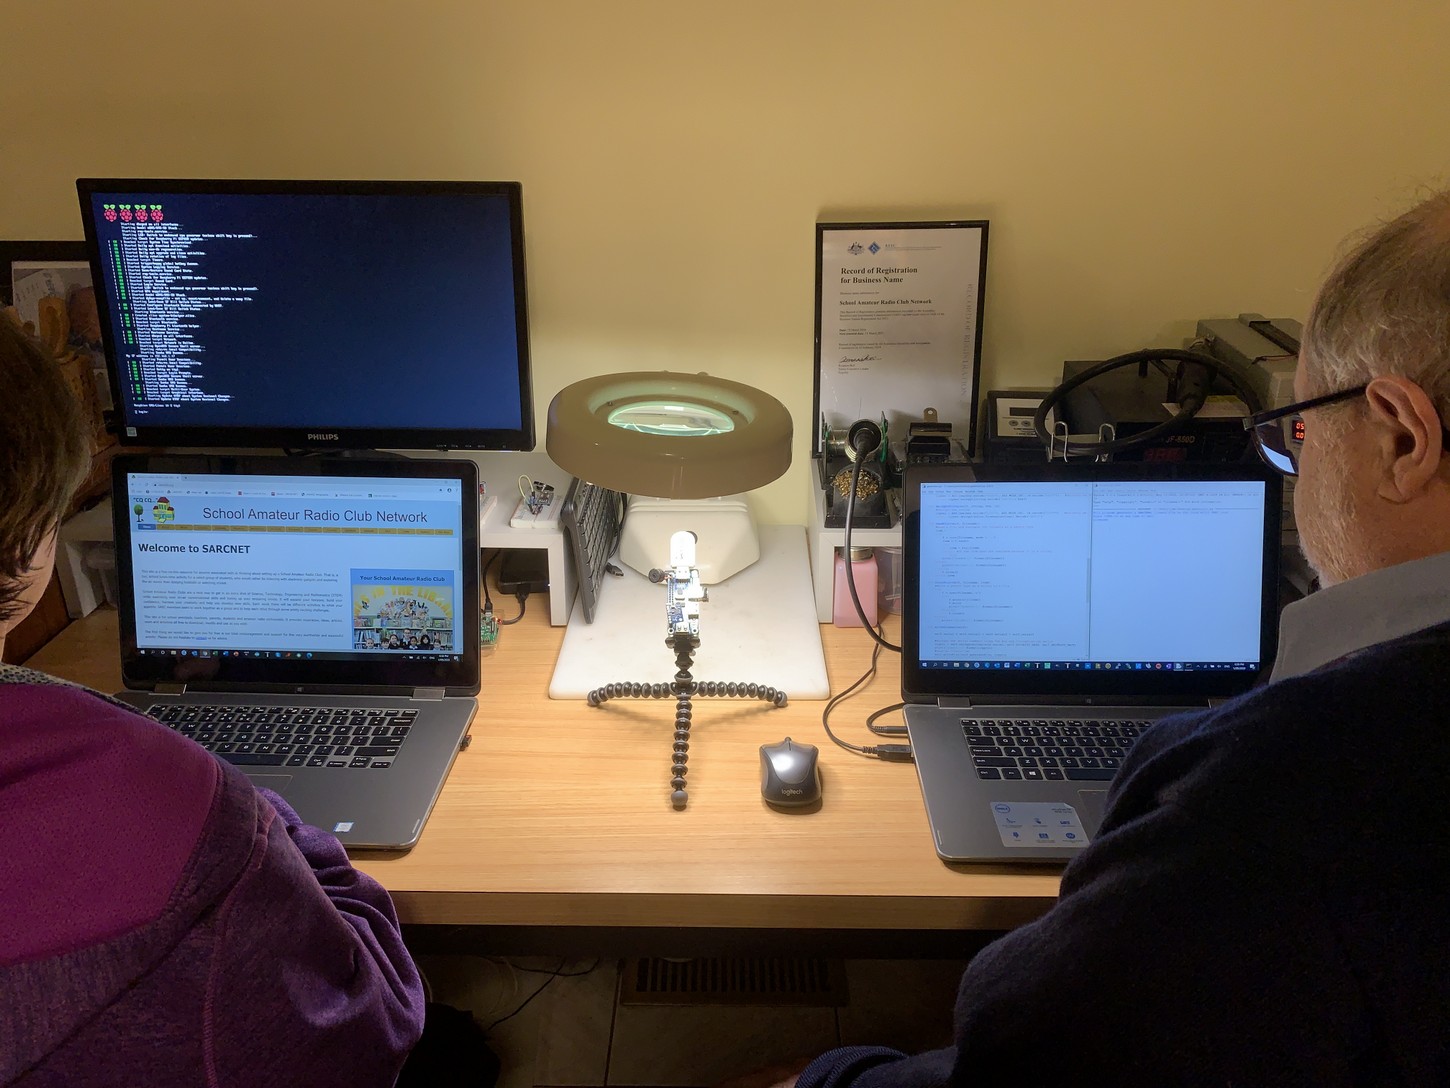
SARCNET Development and SARCTRAC Coding
1. Assembling the cover (123)
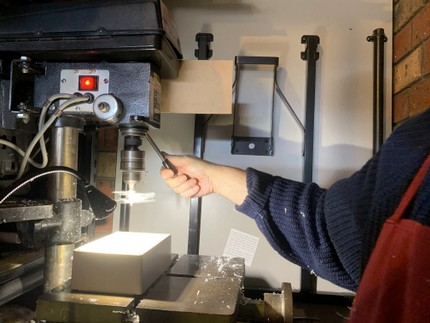
2. Machining the enclosure (123)
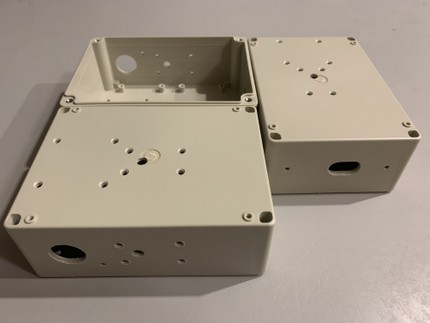
3. Counter-sinking and deburring the enclosure (123)
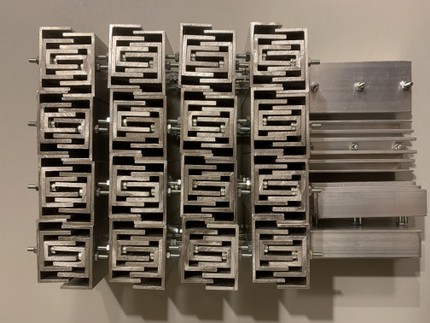
4. Machining the aluminium, finned heatsink (2)
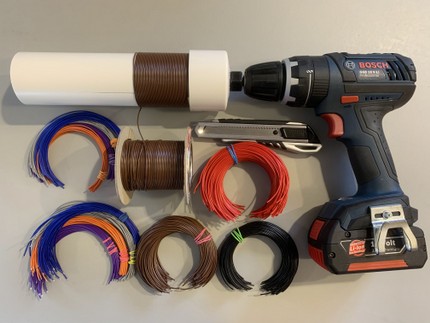
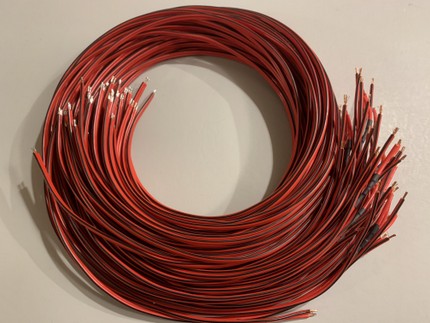
5. Cutting and tinning the hookup wire (123)
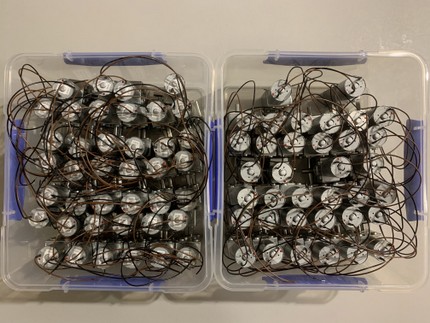
6. Wiring the motor (123)
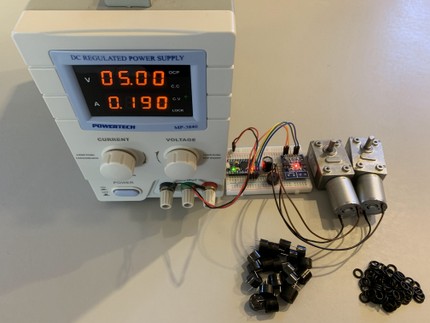
7. Testing the beeper (12) and motor (123)
8. Wiring the beeper (12)

9. Wiring the regulator (12)
10. Wiring the 3D accelerometer/magnetometer (12)
11. Crimping the motor driver cable (12)
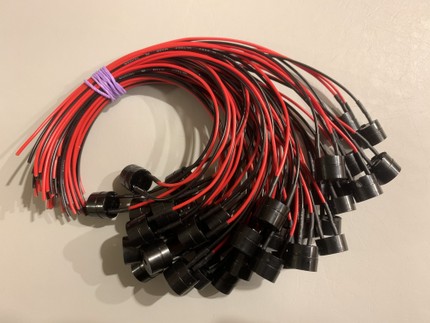
12. Wiring the power cable with integrated schottky diode (12)
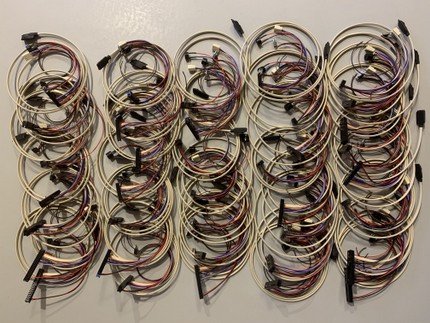
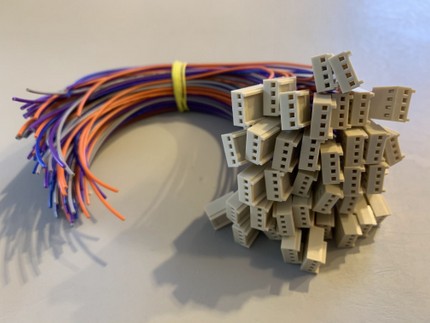
13. Crimping the Raspberry Pi wiring harness (12)

14. Modifying the motor driver (12)

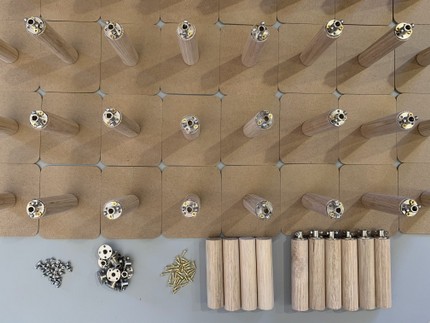
15. Installing the grommet, heatsink, label and standoffs (12)
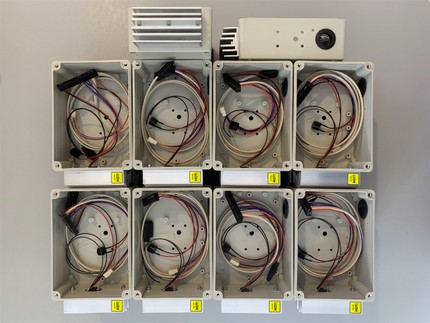
16. Installing the Raspberry Pi wiring harness (12)
17. Installing the motors (123)

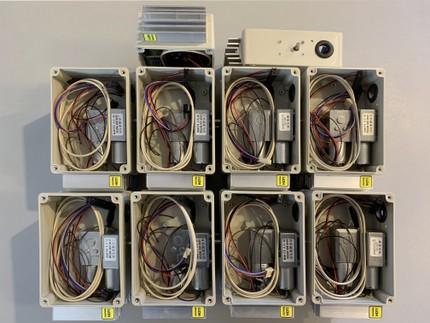
18. Installing the motor driver and power cable (123)
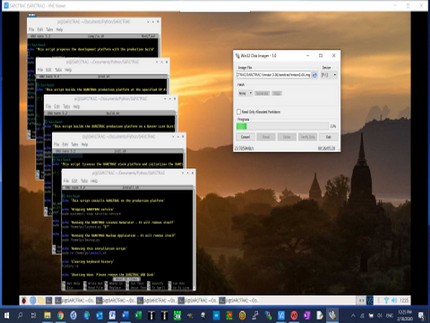
19. Programming the micro SDHC card and USB disk (12)
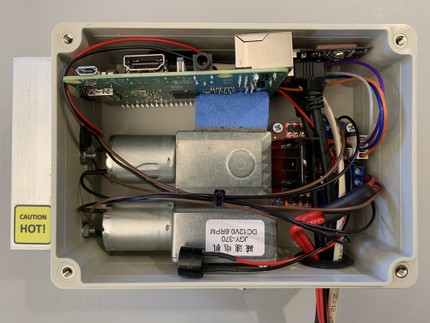
20. Installing the Raspberry Pi and GPS receiver assembly (12)

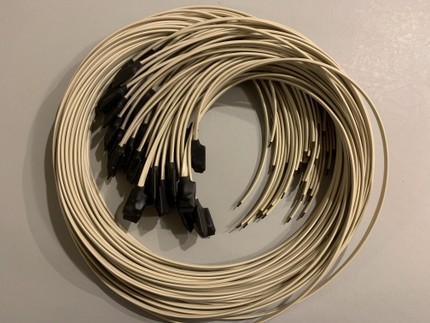
21. Installing the beeper and cable assembly (12)
22. Assembling the test stand (12)

23. Assembling the test lift-arm (12)
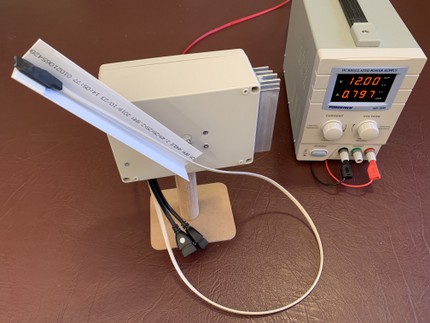
24. Setting to work (123)
25. Calibrating the 3D magnetometer/accelerometer (123)
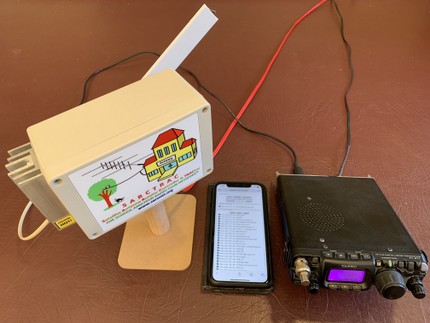
26. Testing (123)
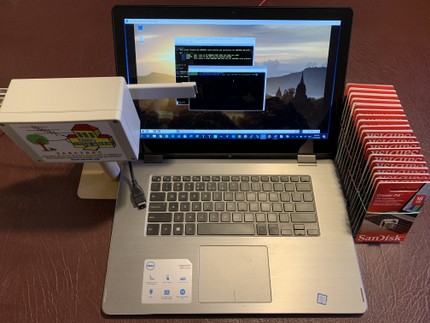
27. Initializing SARCTRAC and the SARCTRAC USB Disk (12)
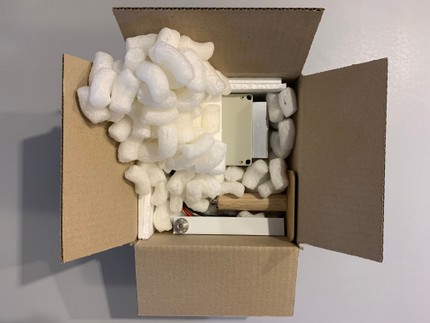
28. Packing and posting (123)
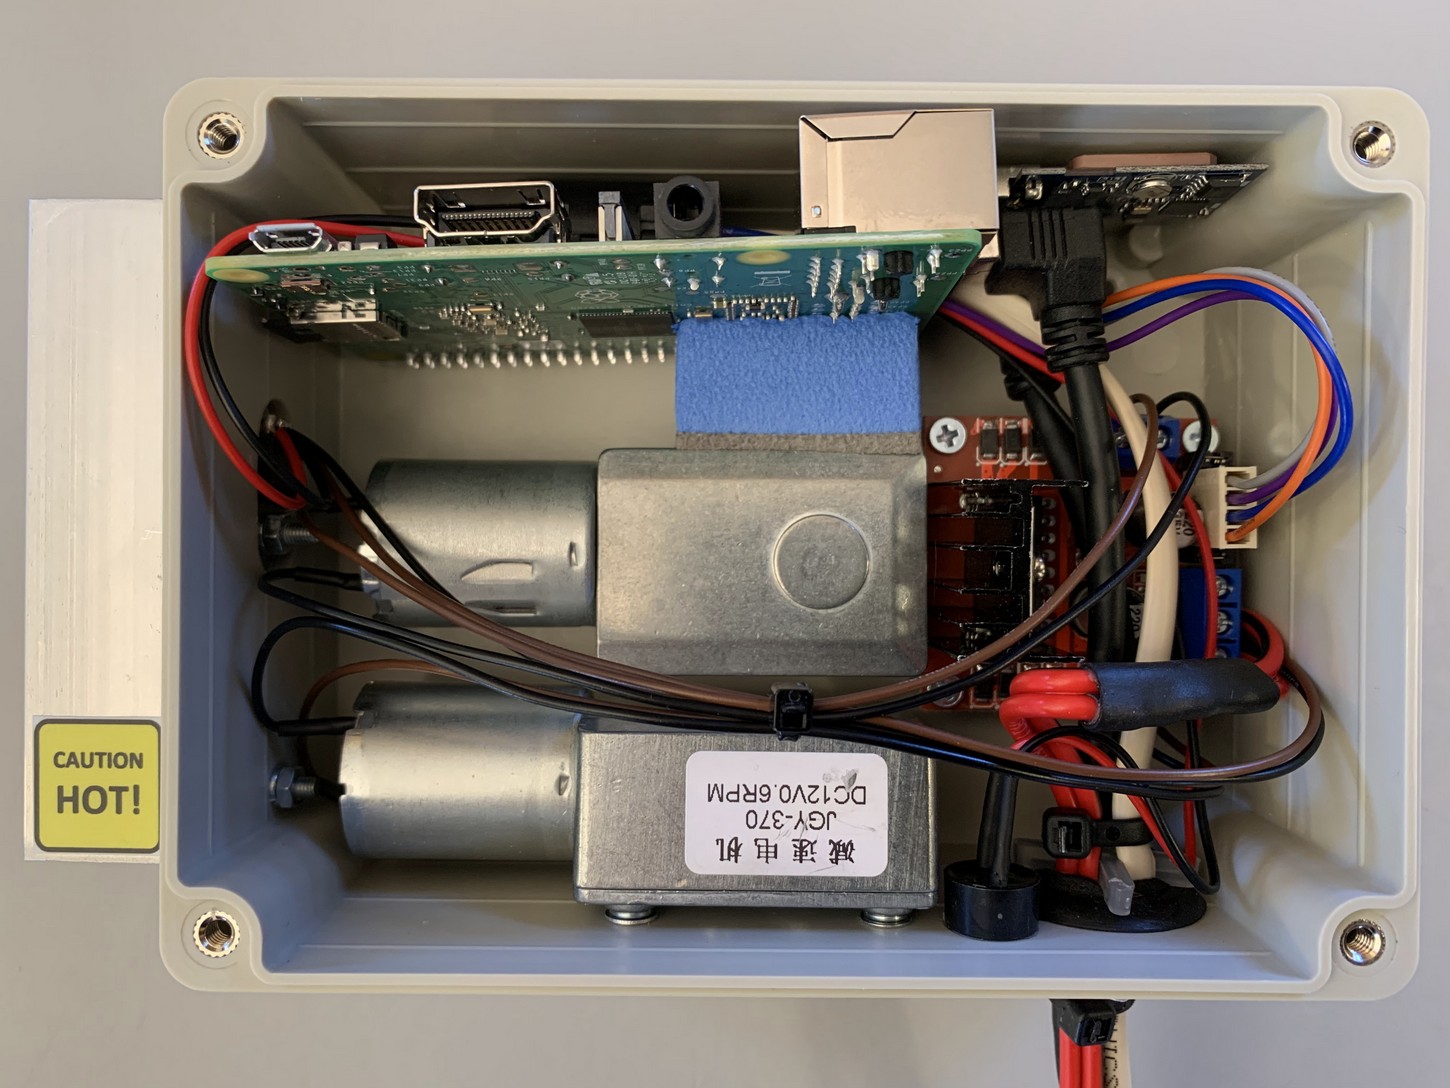
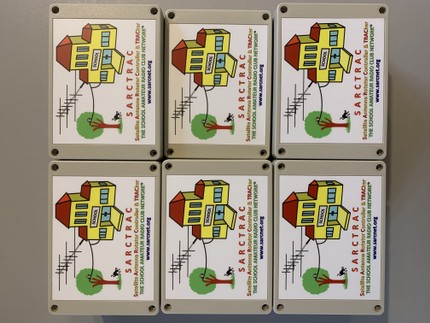
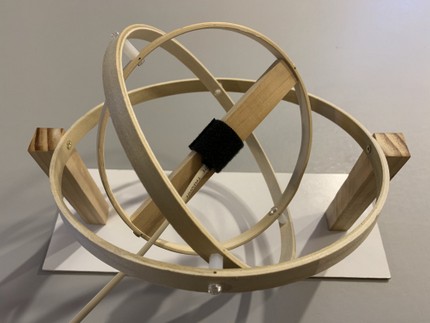
Completed SARCTRAC Mk2 Assembly
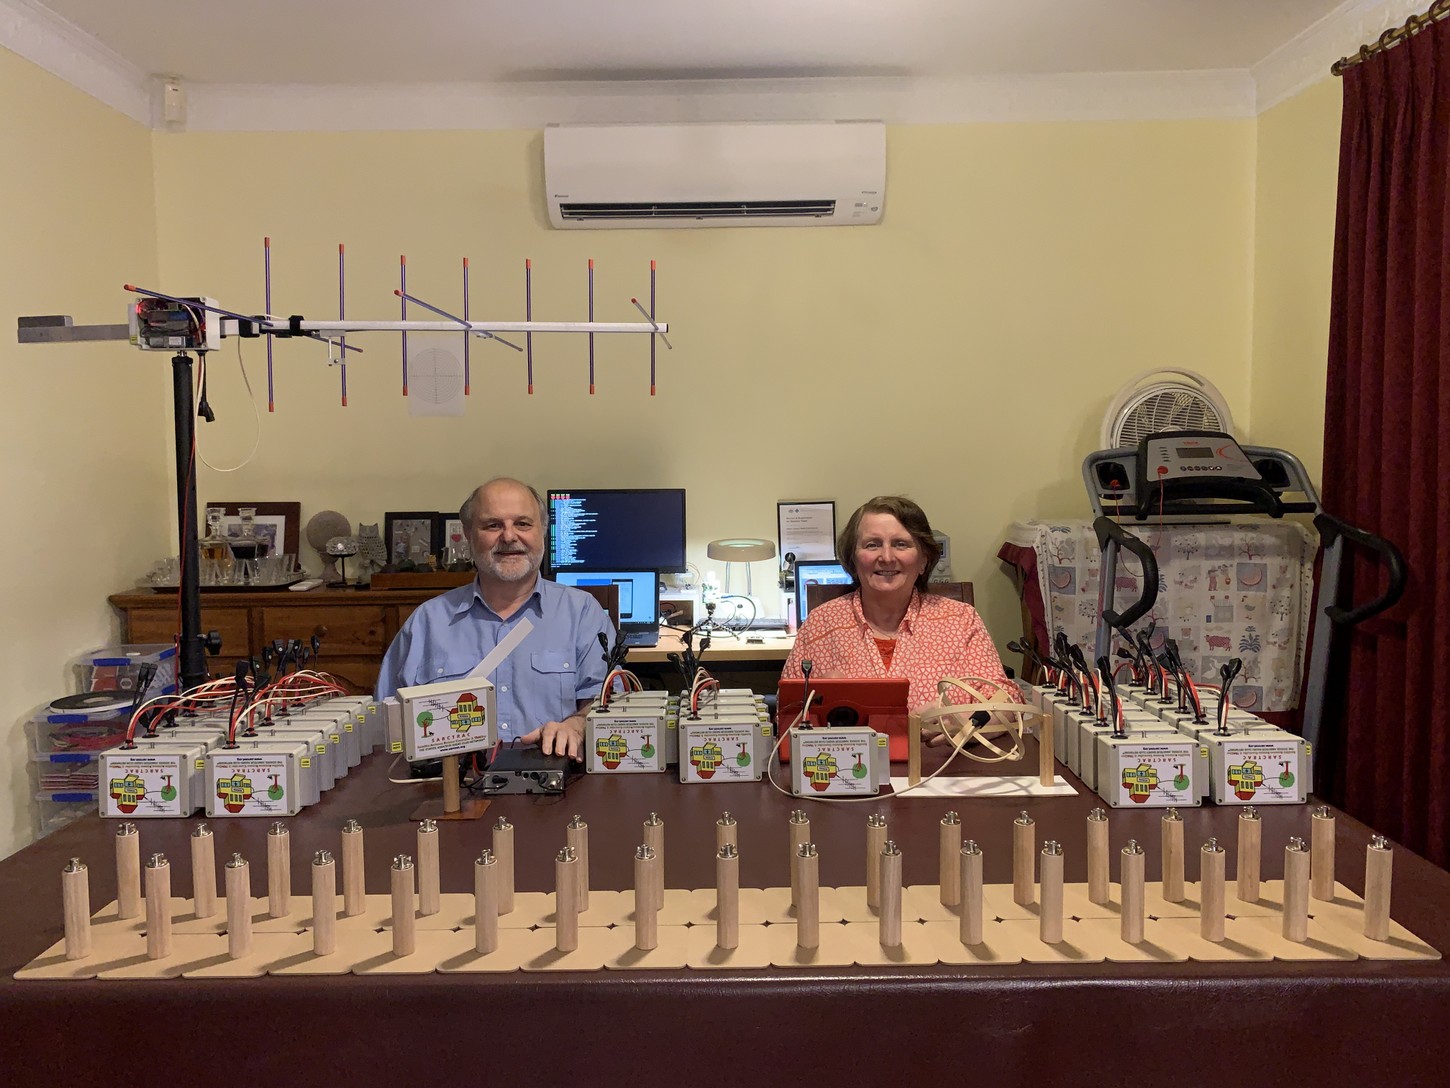
SARCTRAC Mk2 Calibrating and Testing
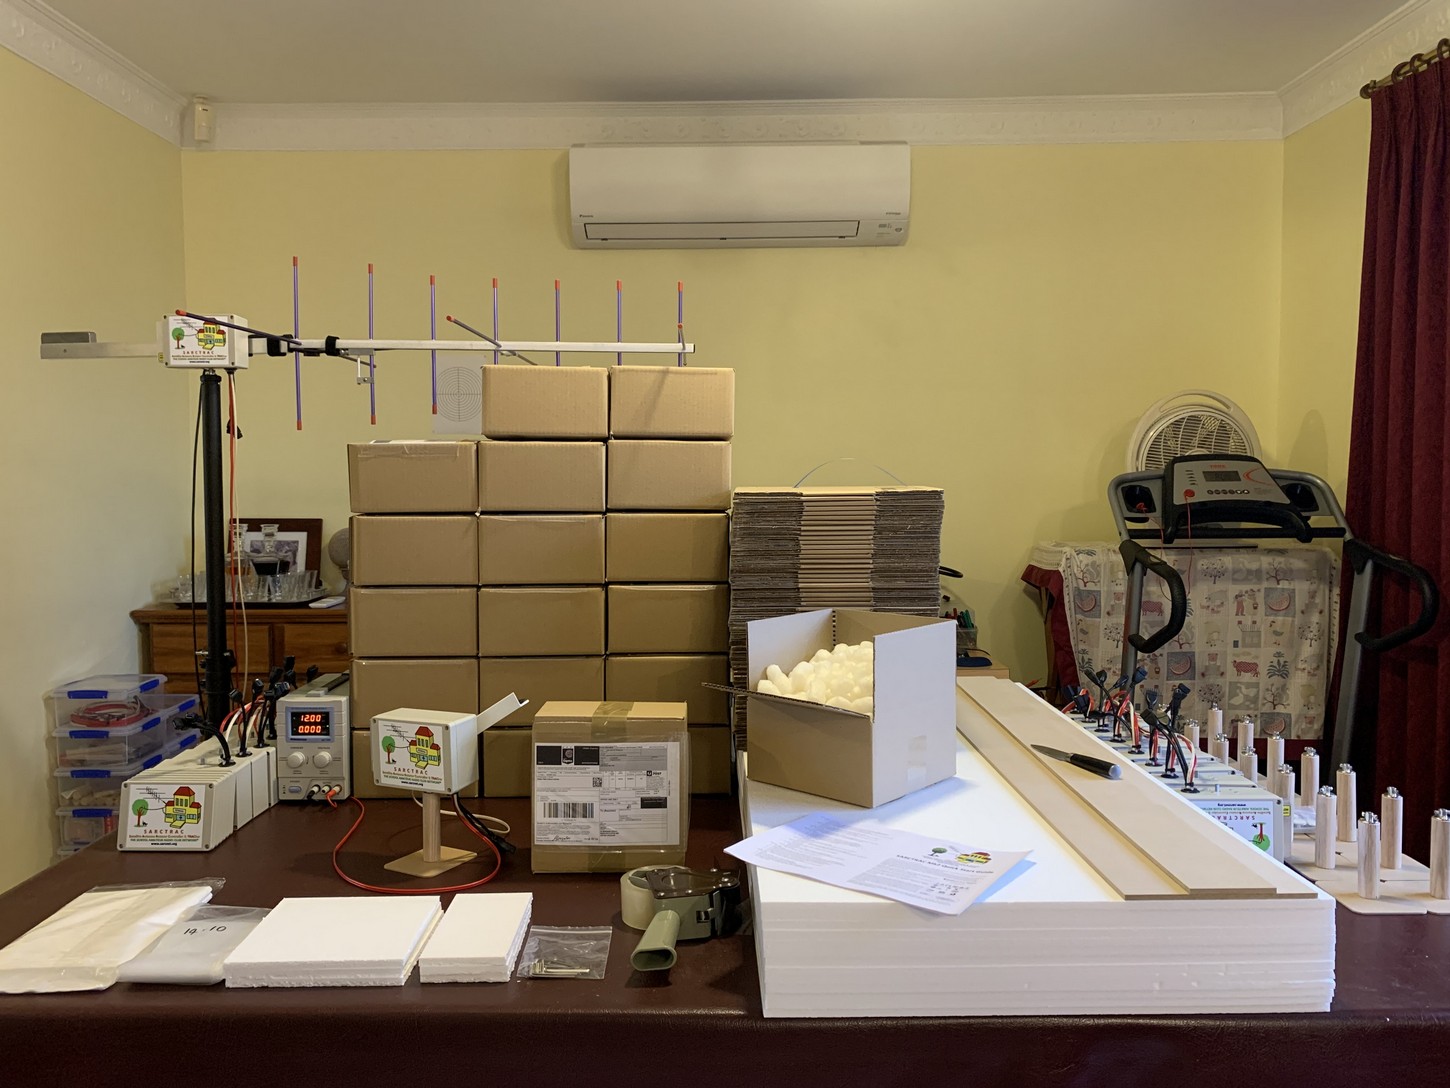
SARCTRAC Mk2 Packaging and Posting